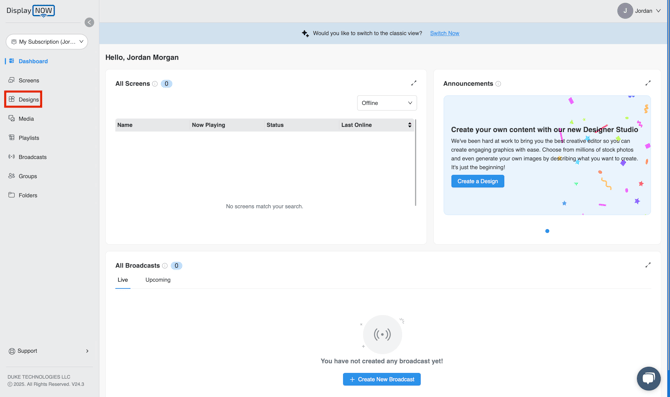
1. Navigate to Display NOW Manager > Designs.
- Click the "Designs" tab to access the area where all creative content is stored and managed.
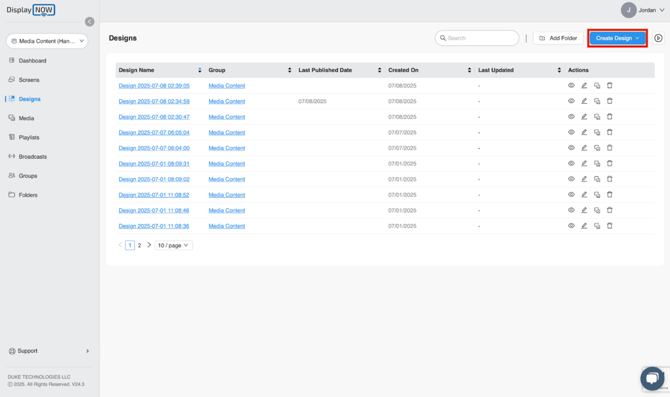
2. Initiate a New Design
- Within the Designs tab, click the "Create Design" button, which is located in the top-right corner.
- This action will start the process for creating new content.
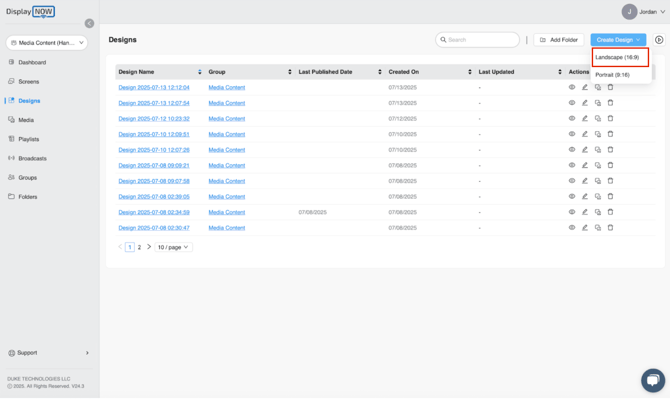
3. Choose Your Design's Orientation
- After clicking "Create Design", a dropdown menu will appear.
- Select the "Portrait (9:16)" option for a standard vertical format.
Or
- Select the "Landscape (16:9)" option for a standard widescreen format. For this article, we'll be selecting Landscape (16:9.)
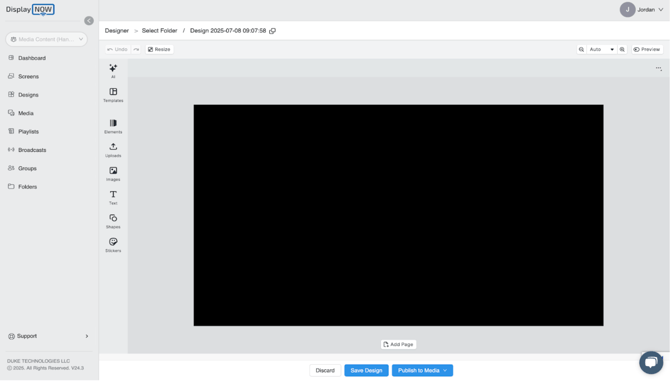
4. Start creating your design
- You will be directed to the design editor, which will display a blank black canvas.
- This canvas serves as your workspace to create a design from scratch or by using a template.
Outlining the features
Learn to Use Templates, Media, Creative Elements, and Publishing Tools
The following steps will guide you through understanding and using the key features of the Display NOW Designer.
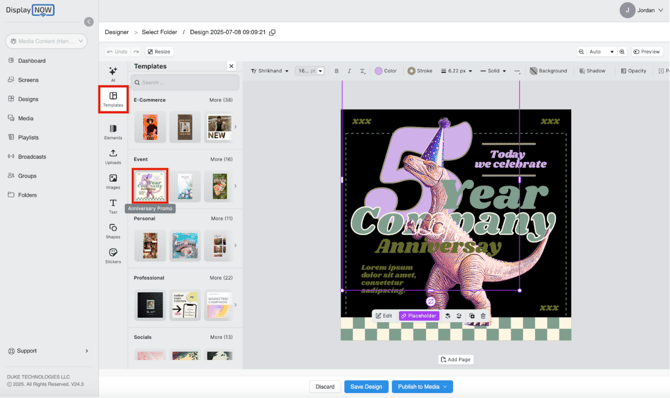
5. Select a Template
- Browse the available "Templates" in the left-hand panel and select the one you prefer.
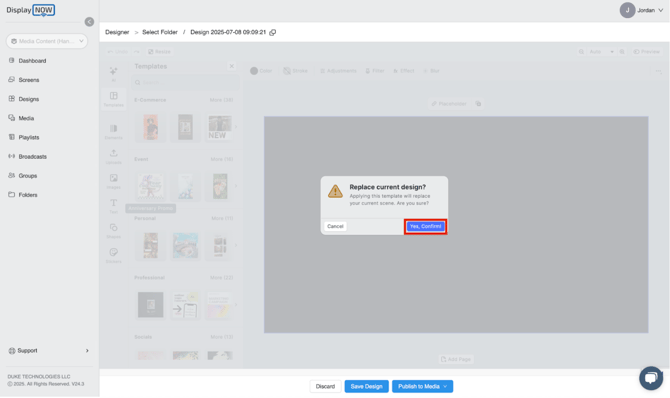
6. Confirm to Apply the Template
- A pop-up window will appear asking if you wish to replace the current design.
- Click the "Yes, Confirm" button to apply the selected template to the canvas.
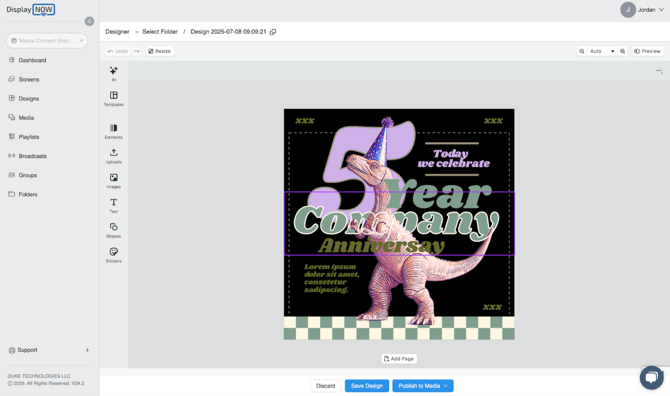
7. View the Applied Template
- The chosen template will now be displayed on the canvas and is ready for customization.
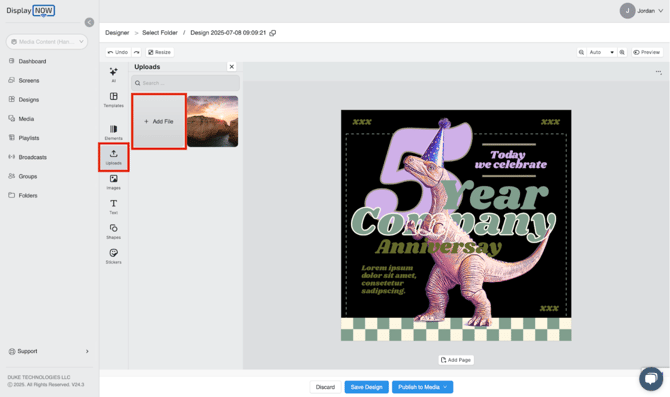
8. Upload Your Own File
- To use your own media, click the "Uploads" tab.
- Select the "Add File" button to upload images or videos from your computer.
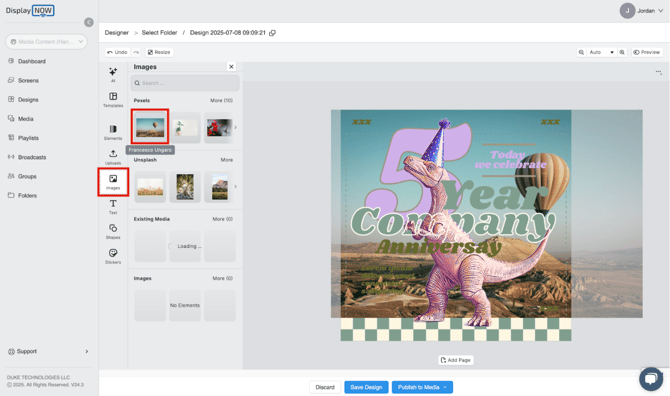
9. Add Stock Images
- In the "Images" tab, you can browse stock libraries and click on a photo to add it to your design.
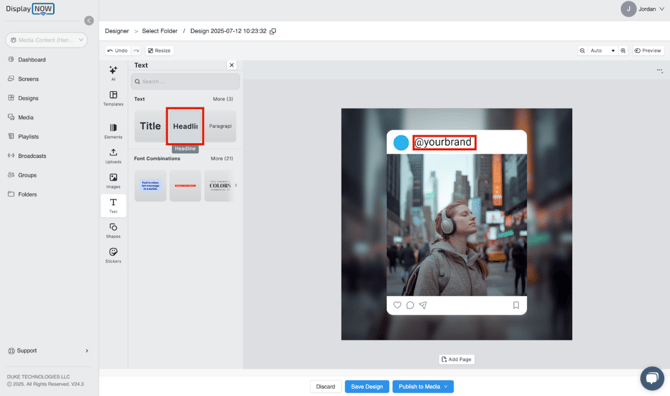
10. Add and Customize Text
- Go to the "Text" tab and select a style, such as "Headline", to add an editable text box to your design.
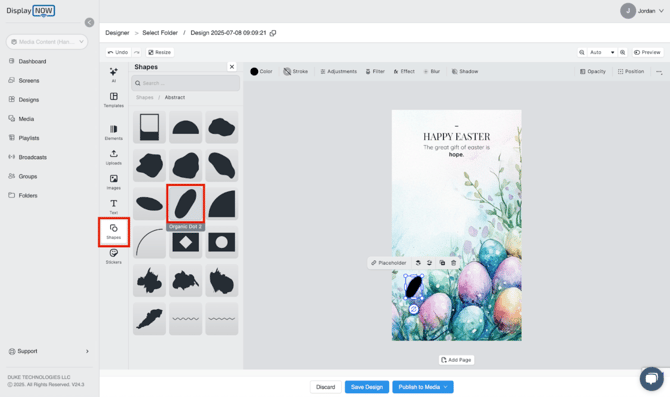
11. Enhance with Shapes
- Open the "Shapes" tab and click on a shape to add it to your canvas for customization.
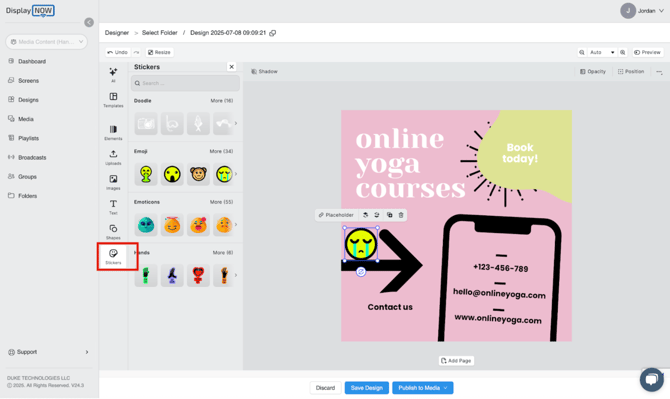
12. Personalize with Stickers
- Click the "Stickers" tab and choose a graphic to place on your design to make it more vibrant and eye-catching.
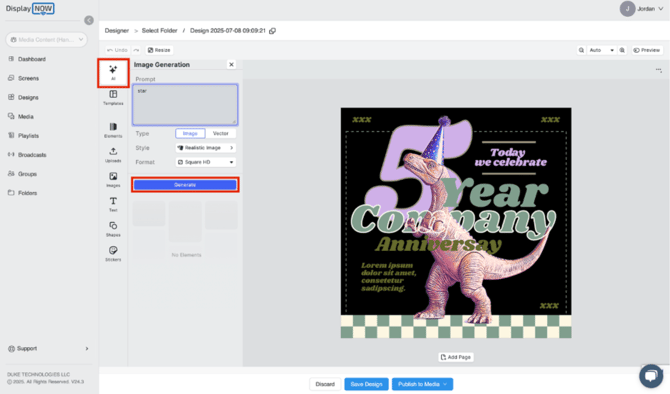
13. Generate an AI Image
- To use the AI to create an image, go to the AI tab. In the Prompt box, type a description of the image you want (the example uses "Star") and click the "Generate" button.
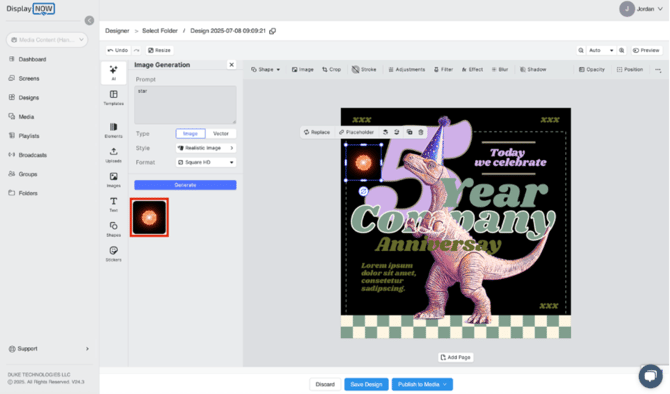
14. Add the Generated Image to Your Design
- Your generated image will appear in the left panel. Click on the image of the star to add it directly onto your design canvas. You can then move and resize it as you see fit.
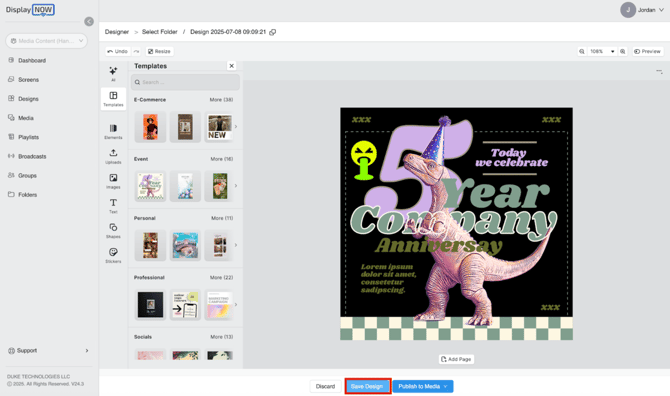
15. Save Your Design for Later
- If you want to save your progress and continue working on the design later, click the “Save Design” button. Your work will be stored and can be accessed from the main Designs tab at any time
16. Publish Your Design to Media
- Once your design is complete and ready to be used, click the “Publish to Media” button. This action ensures your design is ready to be stored in your media library, allowing you to incorporate it into your playlist and showcase it on your screens.
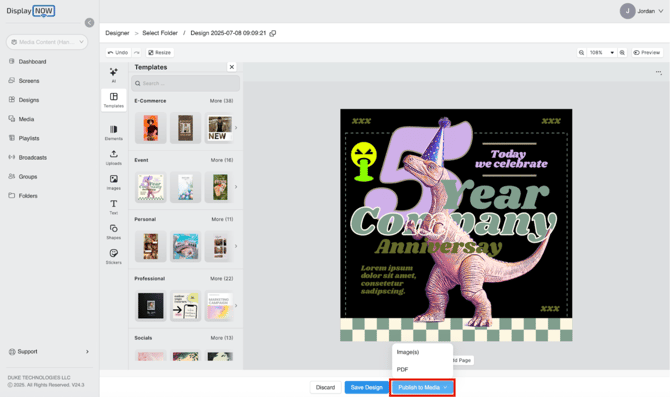
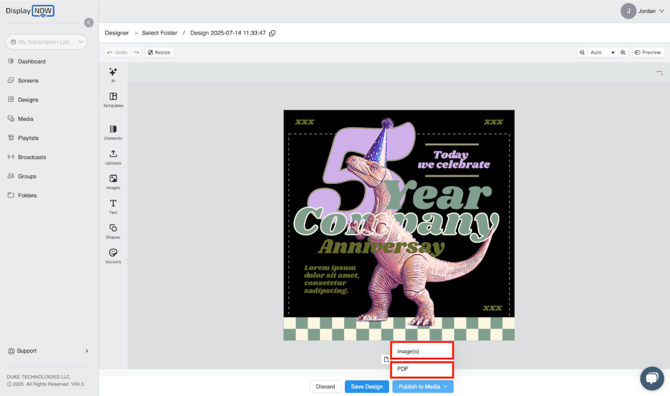
17. Select an Export Format
After clicking "Publish to Media", you must choose a format.
- For a single-page poster, select
Image(s). - For a design with multiple pages, you should select the
PDF option.
With these steps, you are now equipped to navigate the Display NOW Designer from start to finish.
You have learned how to create a design, customize it with a wide range of tools like templates, AI images, and stickers, and finalize your work by saving or publishing it for your displays. Now it's time to bring your own creative visions to life and produce engaging content for your audience!